今天我们来讲讲如何使用 Hugo 搭建自己的博客。
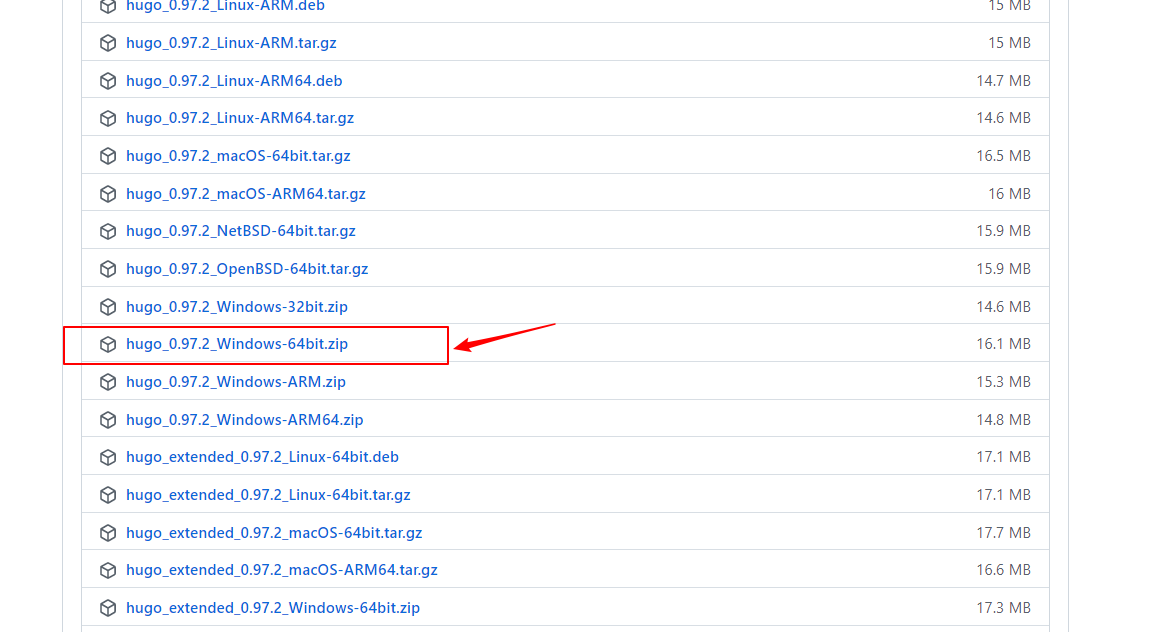
下载 Hugo 首先我们到 Hugo Release 页面根据自己的操作系统版本下载 Hugo,本文以 Windows 为例,我们下载 Windows x64 版本,然后将文件解压到 D:/software/hugo 目录下
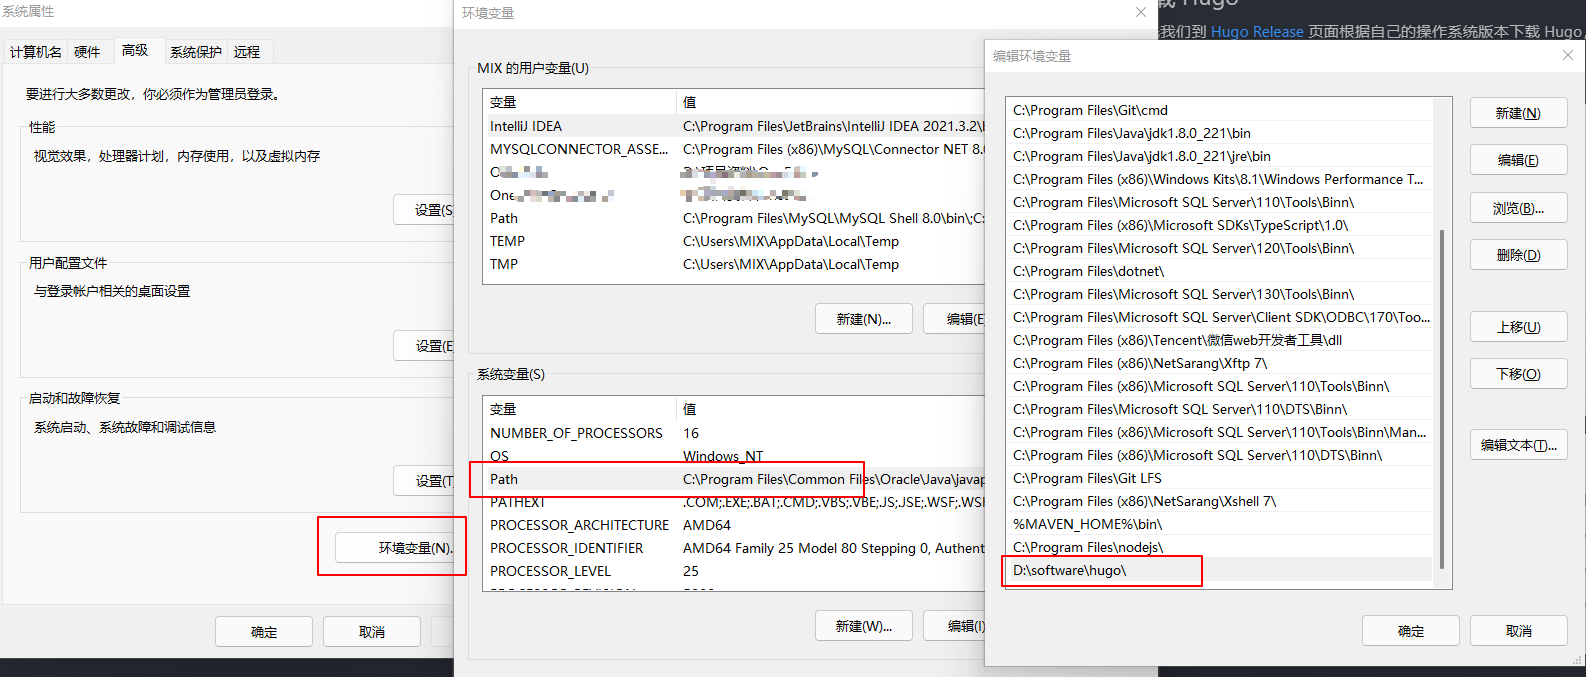
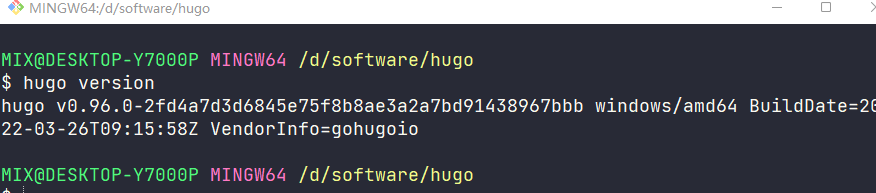
然后配置一下系统的环境变量,打开电脑的高级系统设置,设置系统变量,在 PATH变量后面添加 Hugo 的目录 D:/software/hugo,然后保存,关闭系统设置,然后打开命令行,进入 D:/software/hugo 目录,执行 hugo version 命令验证一下即可,如下图所示:
配置好环境变量后我们就可以在任意一个目录下执行 hugo 命令了。
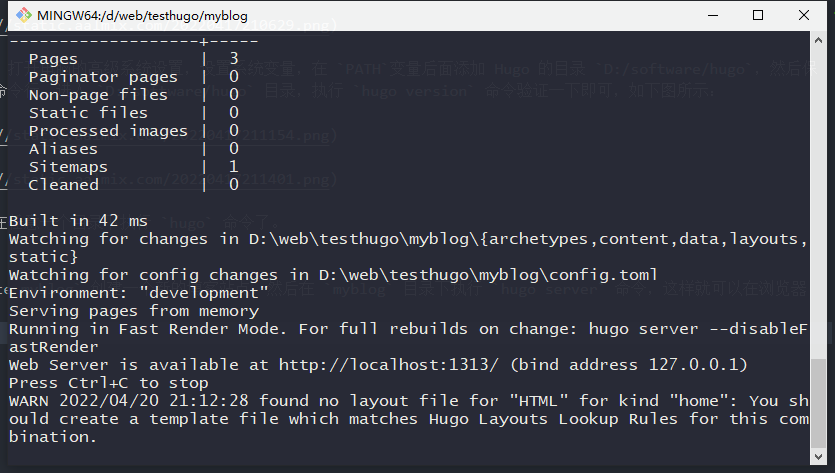
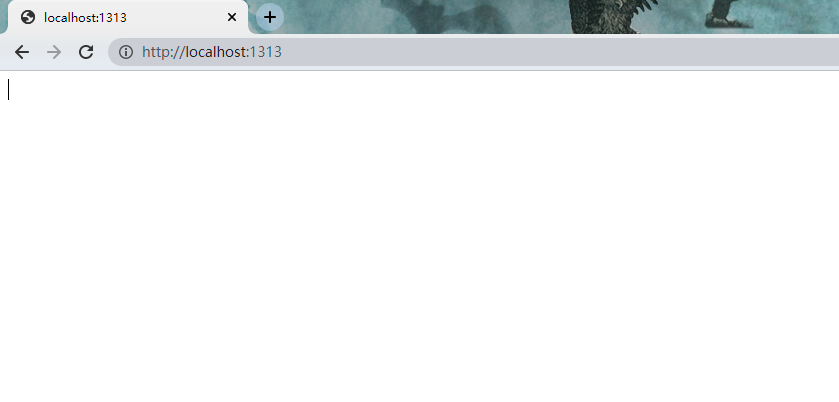
创建博客站点 我们可以使用 hugo new site myblog 创建一个新的博客站点,然后在 myblog 目录下执行 hugo server 命令,hugo 默认端口使用的是 1313, 我们在浏览器中输入 http://localhost:1313 就可以访问了如下图所示:
添加主题 在 myblog 根目录下,运行下面命令,添加主题 hugo-theme-echo
1
2
3
4
git init //gi thub.com/forecho/ hugo-theme-echo.git themes/echo/echo # 进入 themes/ echo 目录
修改 hugo 配置 大家可以根据我的 config.toml 文件进行修改。
1
2
3
4
5
6
7
8
9
10
11
12
13
14
15
16
17
18
19
20
21
22
23
24
25
26
27
28
29
30
31
32
33
34
35
36
37
38
39
40
41
42
43
44
45
46
47
48
49
50
51
52
53
54
55
56
57
58
59
60
61
62
63
64
65
66
67
68
69
70
71
72
73
74
75
76
77
78
79
80
81
82
83
84
85
86
87
88
89
90
91
92
93
94
95
baseUrl = "https://wubh2012.githuo.io" languageCode = "en-us" title = "AALMIX's Blog" theme = "echo" DefaultContentLanguage = "cn" hasCJKLanguage = true uglyURLs = true googleAnalytics = "" enableRobotsTXT = true changyanAppid = "" changyanAppkey = "" livereUID = "" [markup.highlight] codeFences = true guessSyntax = true hl_Lines = "" lineNoStart = 1 lineNos = true lineNumbersInTable = true noClasses = true style = "dracula" tabWidth = 2 [permalinks] posts = "/:filename" [outputFormats.RSS] mediatype = "application/rss" baseName = "atom" [services.rss] limit = 20 [author] name = "AALMIX" avatar = "https://avatars.githubusercontent.com/u/22315624?s=400&u=0f4091c87fa6cb1f7ed21d691a5e0bc3eb0b0814&v=4" bio = " 一名普通的程序员 😀" homepage = "https://aalmix.com/" [params] favicon = "https://avatars.githubusercontent.com/u/22315624?s=460&v=4" keywords = "AALMIX, 水果芋头,web develoment" description = "AALMIX, aalmix blog, aalmix 独立博客,水果芋头" toc = true navItems = ["HOME" , "/" ],"ARCHIVE" , "/posts.html" ],"ABOUT" , "/about.html" ],"RSS" , "/atom.xml" ]rssFullContent = true uglyURLs = true busuanzi = true staticCDNPrefix = "https://cdn.bootcss.com/font-awesome/5.11.2" extraHead = '<script async src="https://www.googletagmanager.com/gtag/js?id=UA-xxx"></script>' postAds = "" notFoundAds = '' [params.cc] name = "署名 - 非商业性使用 4.0 国际 (CC BY-NC 4.0)" link = "https://creativecommons.org/licenses/by-nc/4.0/deed.zh" [params.reward] enable = false title = "打赏" wechat = "" alipay = "" [params.utterances] enable = true owner = "wubh2012" repo = "wubh2012.github.io" theme = "github-light" issueterm = "pathname" [social] github = "wubh2012" twitter = "twbh_wubh" cnblogs = "wubh" rss = "/atom.xml"
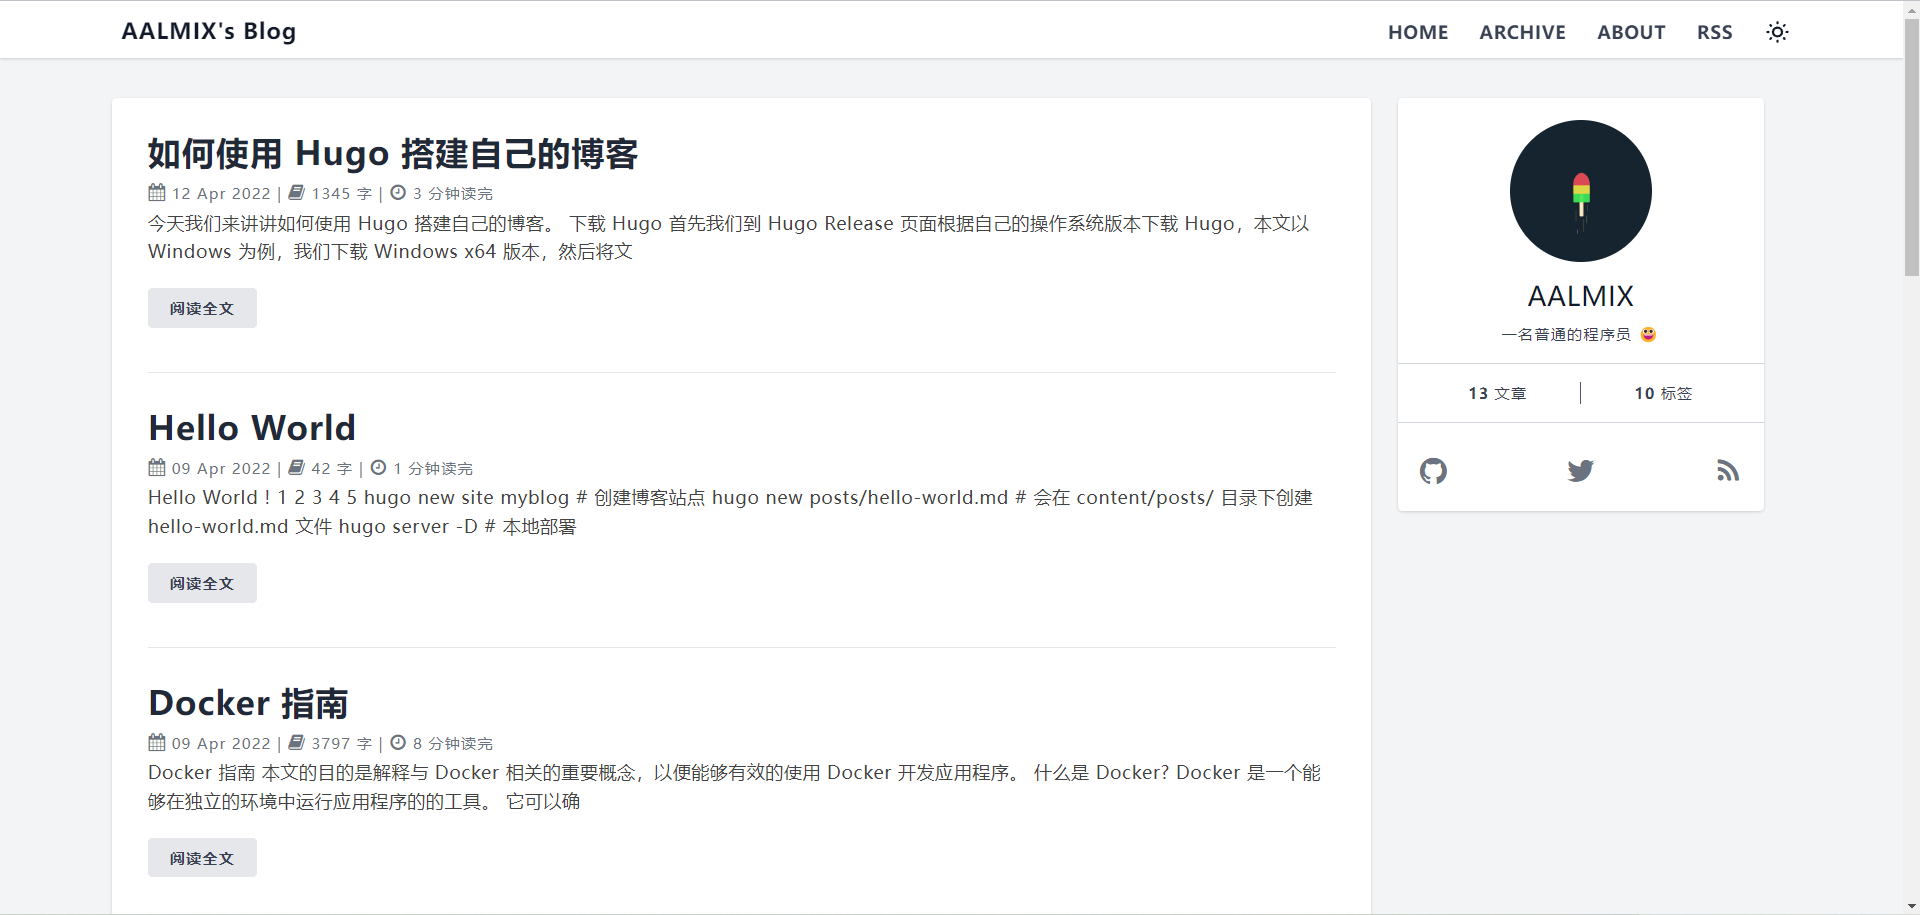
然后我们再运行 hugo server -D 命令,在浏览器中输入 http://localhost:1313 就可以看到我们的新博客了。
写下你的第一篇文章 使用命令 hugo new posts/hello-world.md, 会在 content/posts/ 目录下创建一个 hello-world.md 文件,Hugo 允许你使用 yaml,toml 或者 json 语法在你每一篇文章的开头进行设置。
1
2
3
4
5
6
7
8
9
10
11
12
13
14
15
16
17
--- title: "An Example Post" date: 2022-04-12T16:01:23+08:00 lastmod: 2022-04-12T16:01:23+08:00 draft: false tags: ["tag-1" , "tag-2" , "tag-3" , "popular" ] categories: ["index" ] author: "wubh2012" comment: false toc: false reward: false ---
然后我们再次运行 hugo serve -D 命令,在浏览器中输入 http://localhost:1313/hello-world.html 就可以看到我们的新文章了。
发布到 GitHub
在 Github 创建一个与你账号同名的仓库,以 wubh2012.github.io 为例子
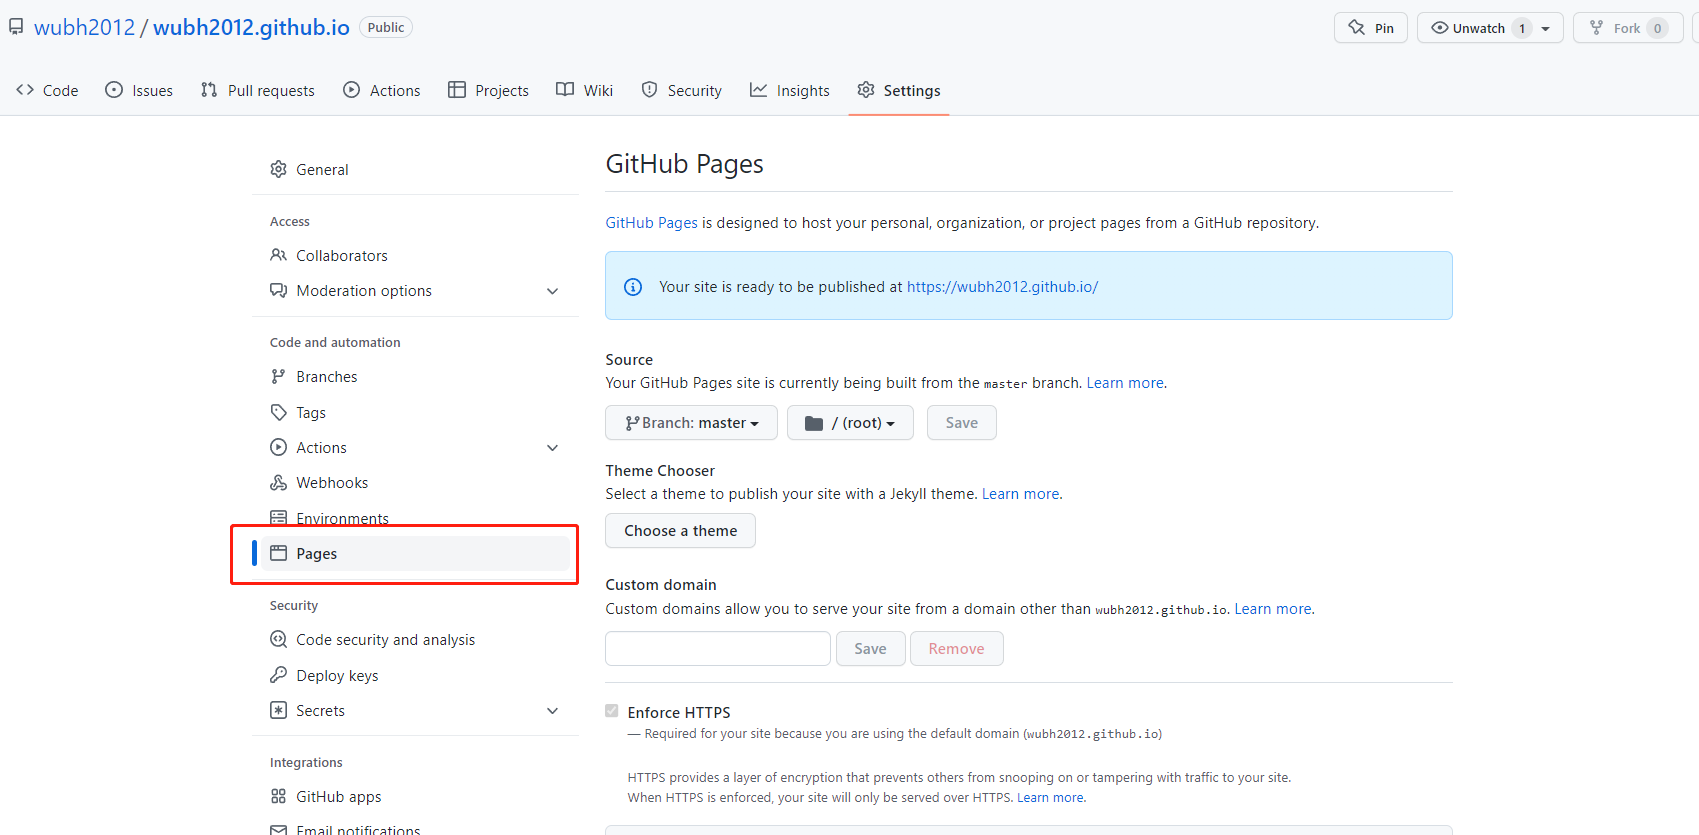
在仓库中设置启用 GitPage
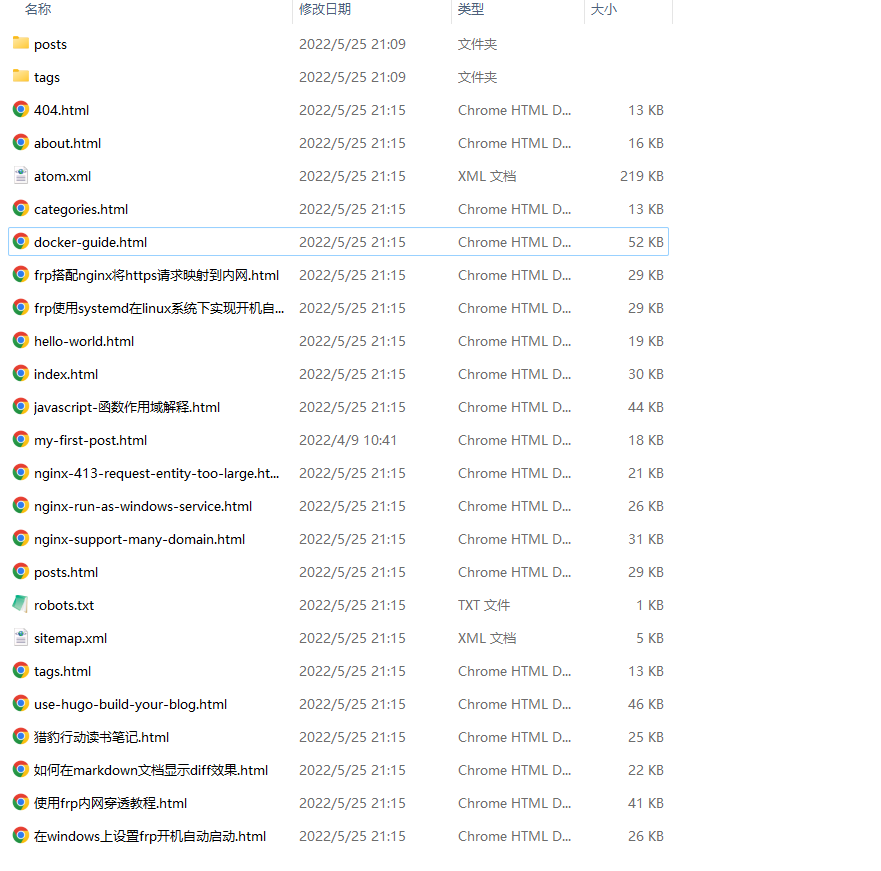
首先使用 hugo -D 构建静态站点,默认会在 public/ 目录下生成静态文件,将 public 文件夹的内容上传到仓库中
访问 https://wubh2012.github.io
大工告成,恭喜你现在有一个自己的博客了!如果博客有更新只要重新上传 public 文件夹即可, 后面会教大家如何使用 GitAction 自动更新部署。